
Adding Snippet Template
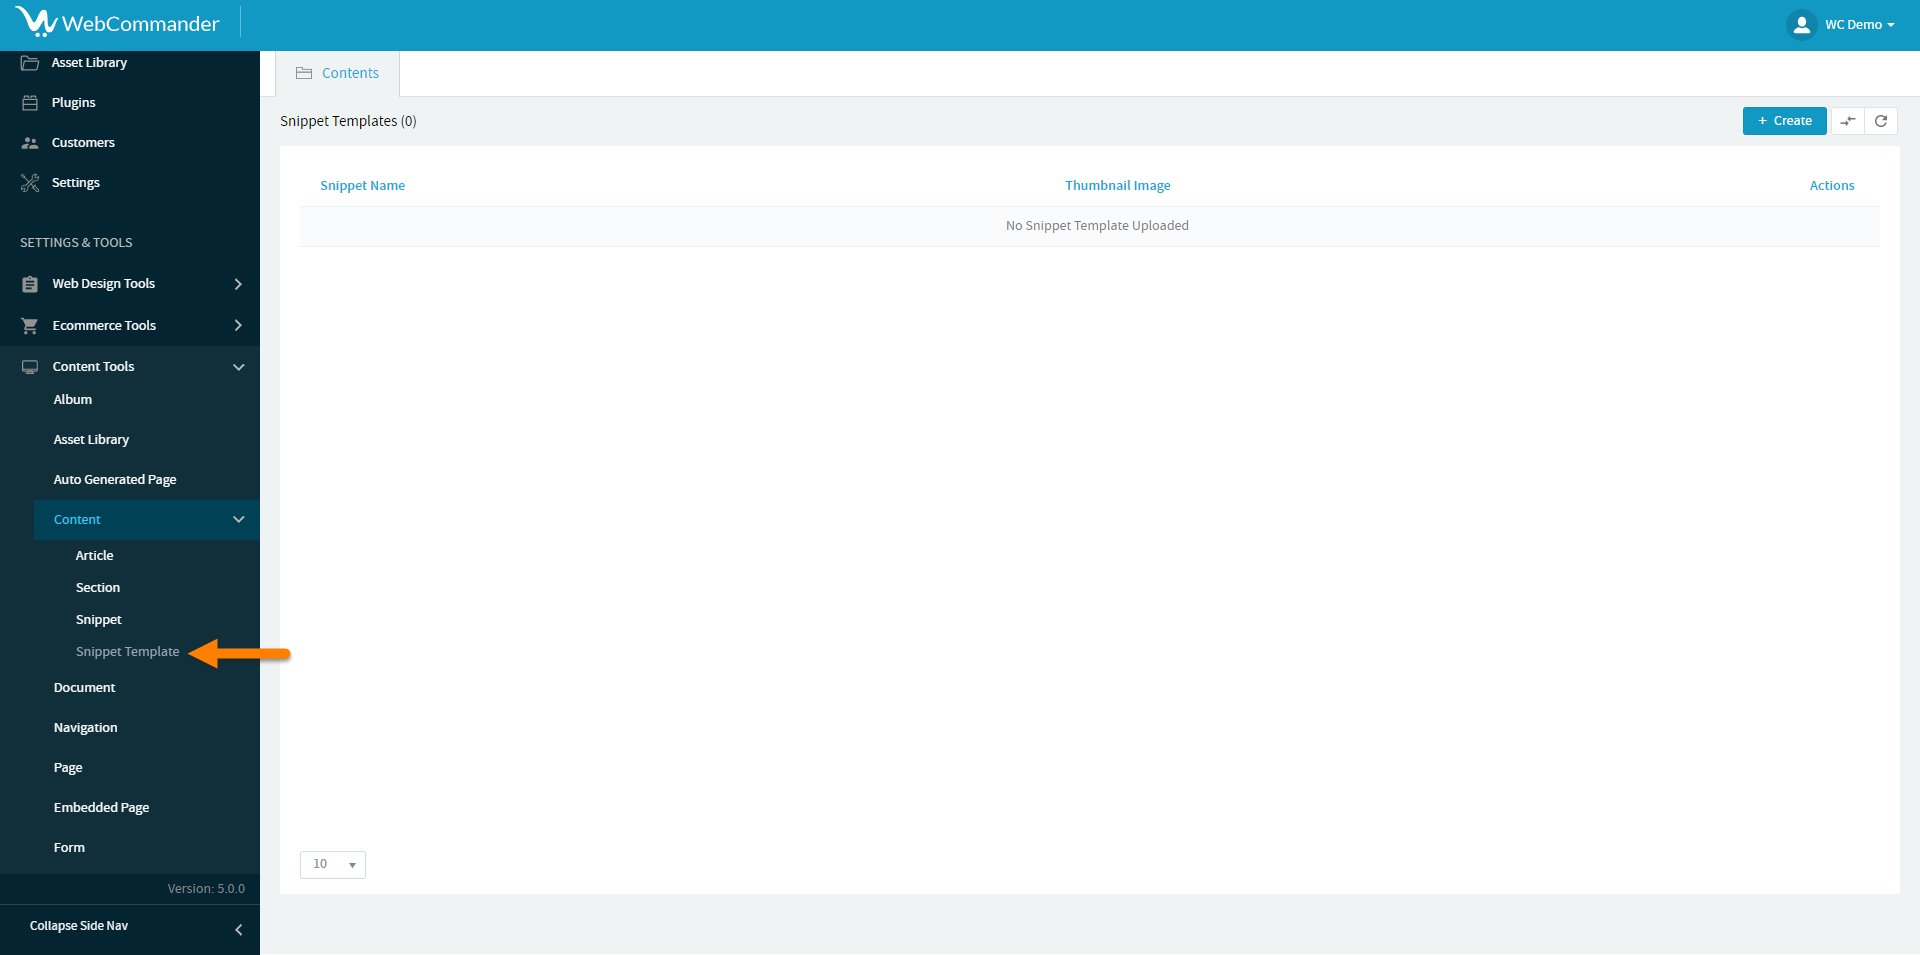
Start by navigating to the ‘Content’ section within the platform. You’ll find this section conveniently under the ‘Web Content’ menu option.
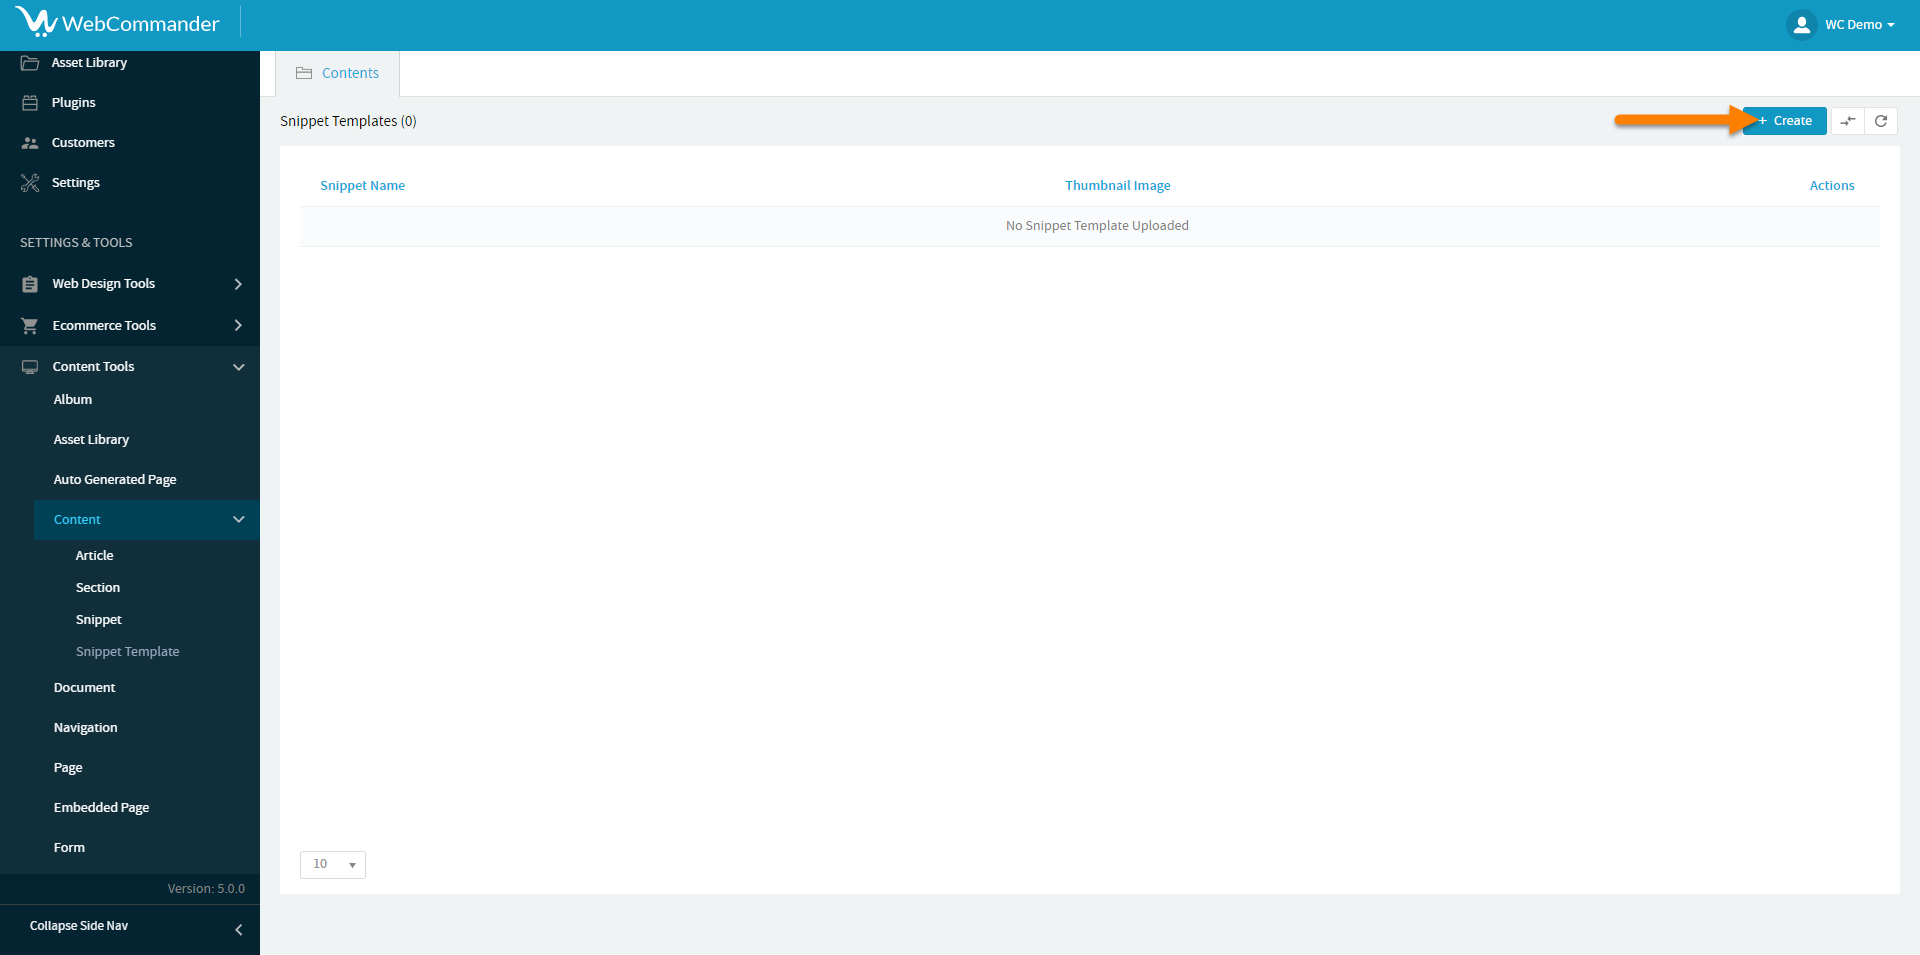
Click the “Create” button, initiating the creation of a new snippet template.
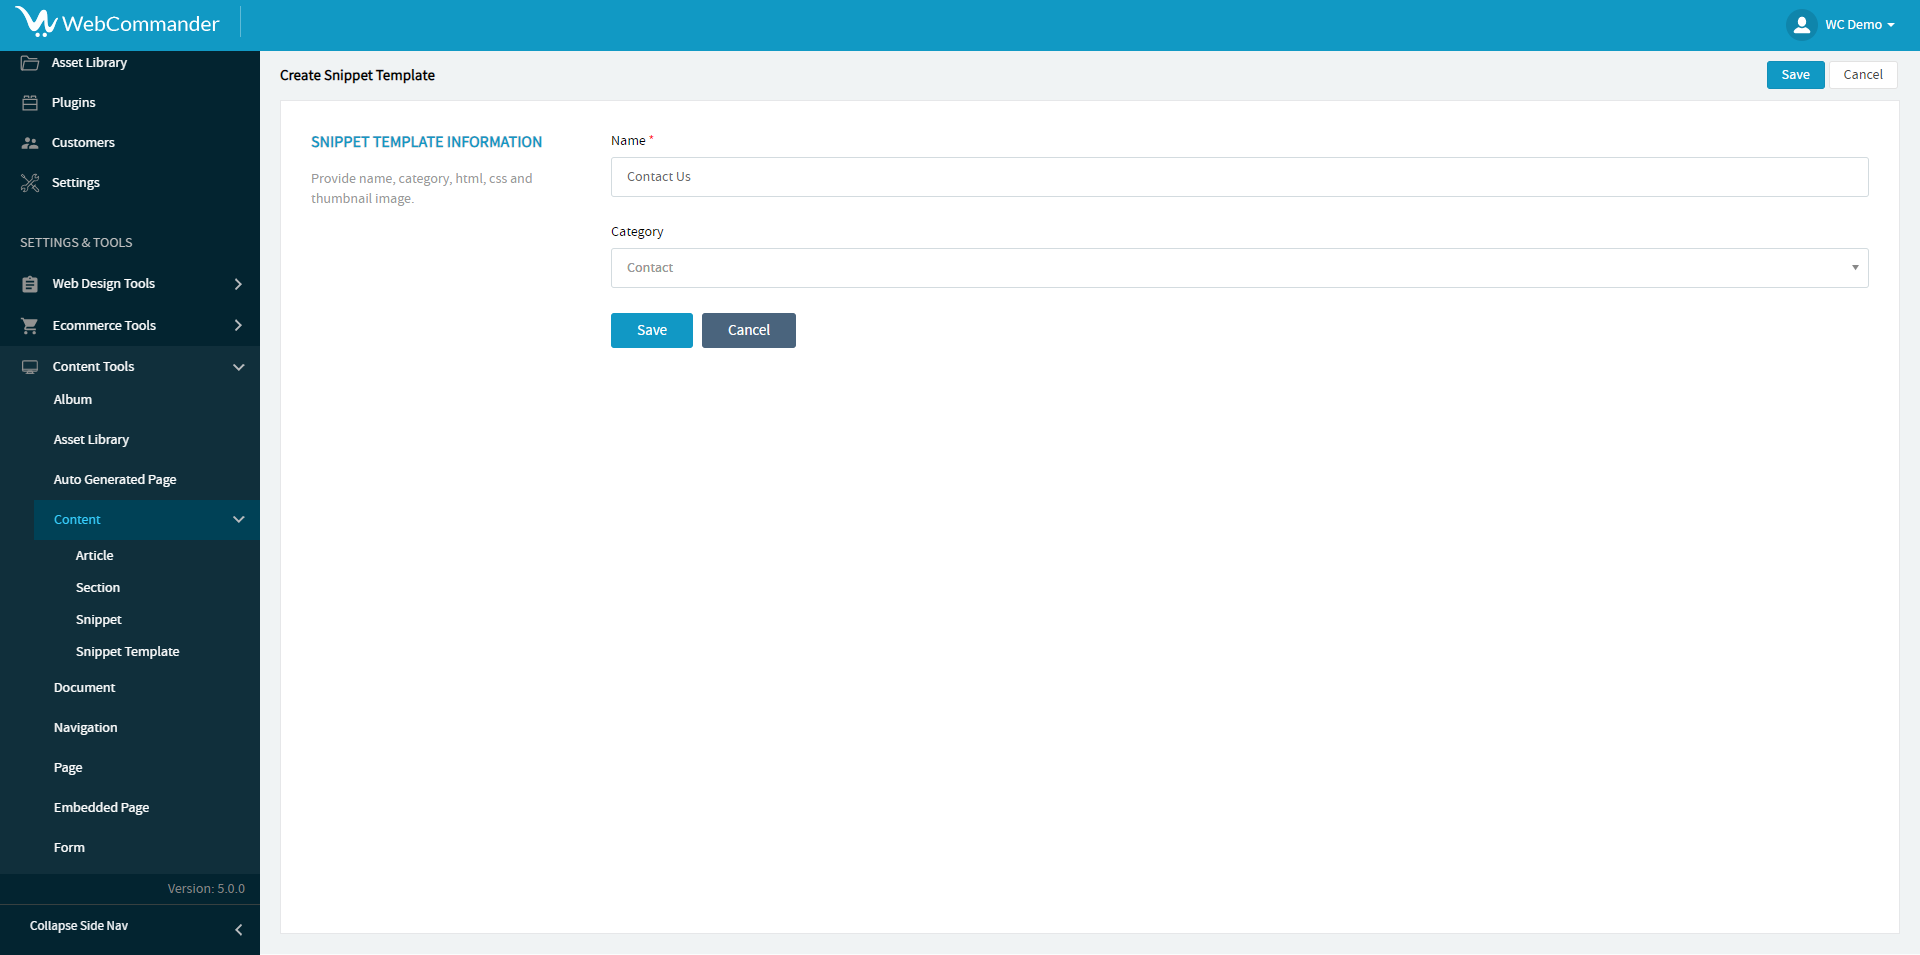
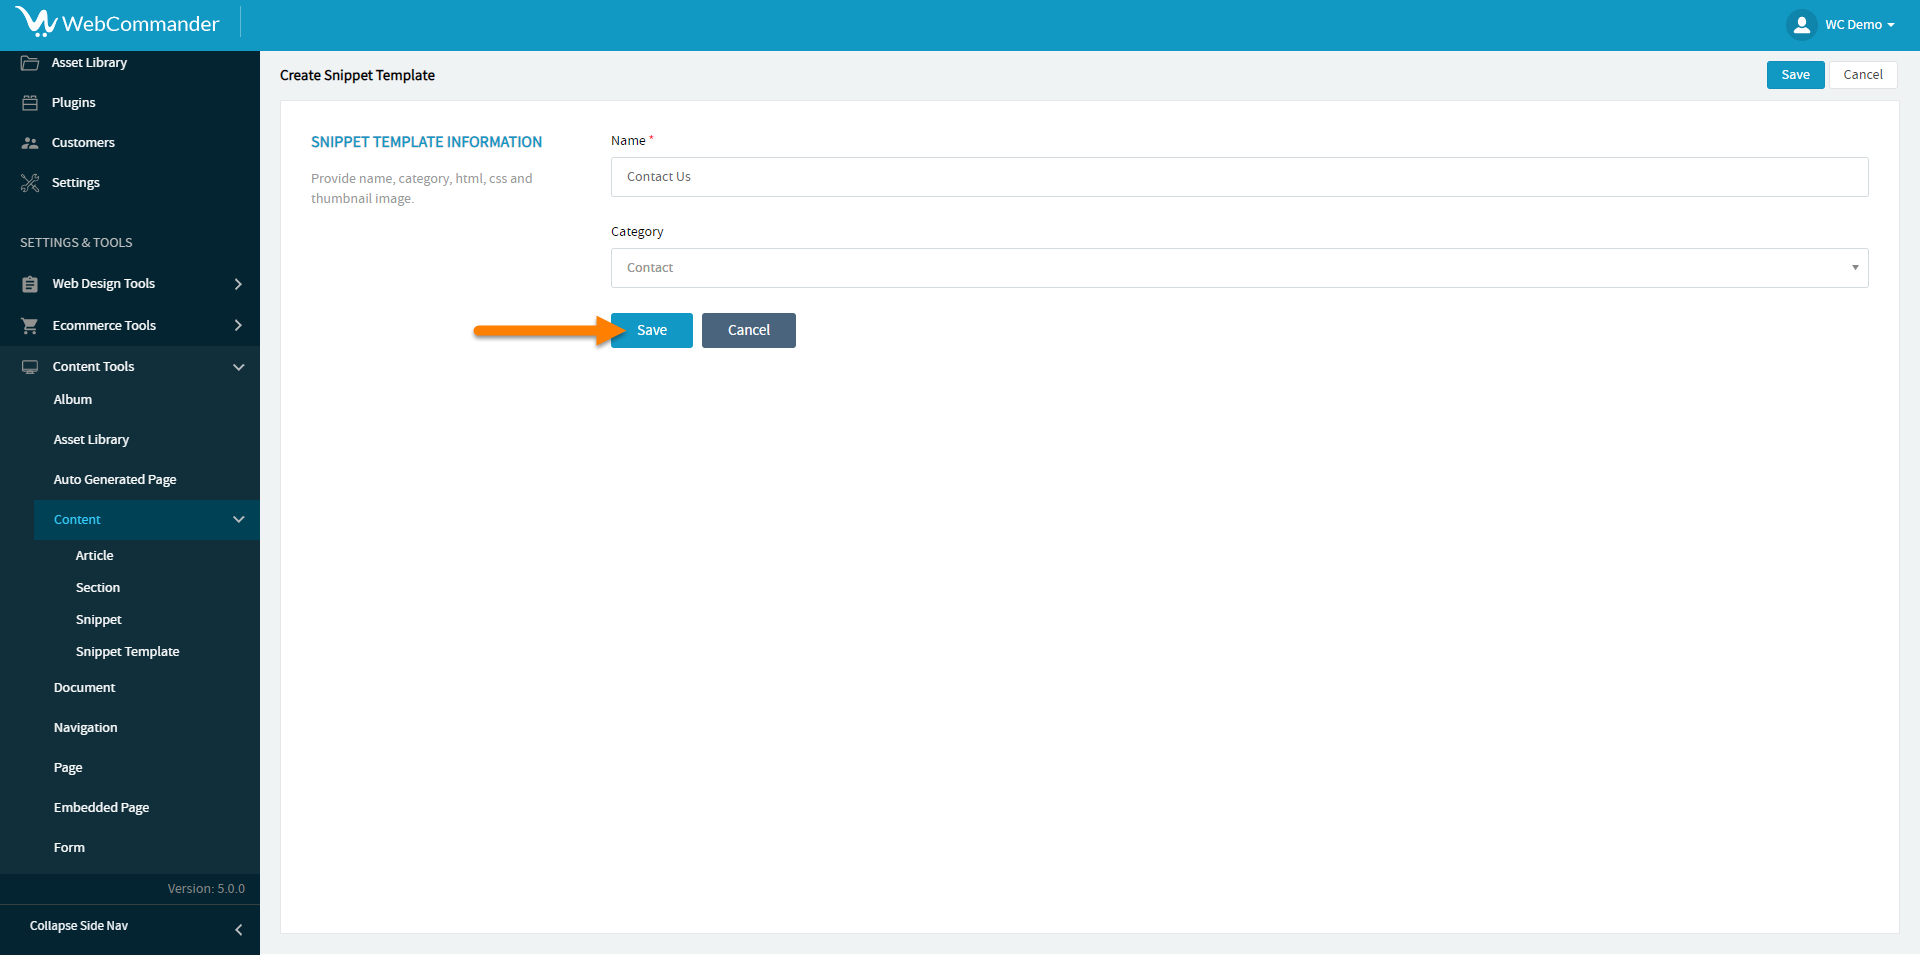
Provide an accurate name for your snippet template. Make it descriptive – for instance, name it “Contact Us” if the snippet pertains to the contact block.
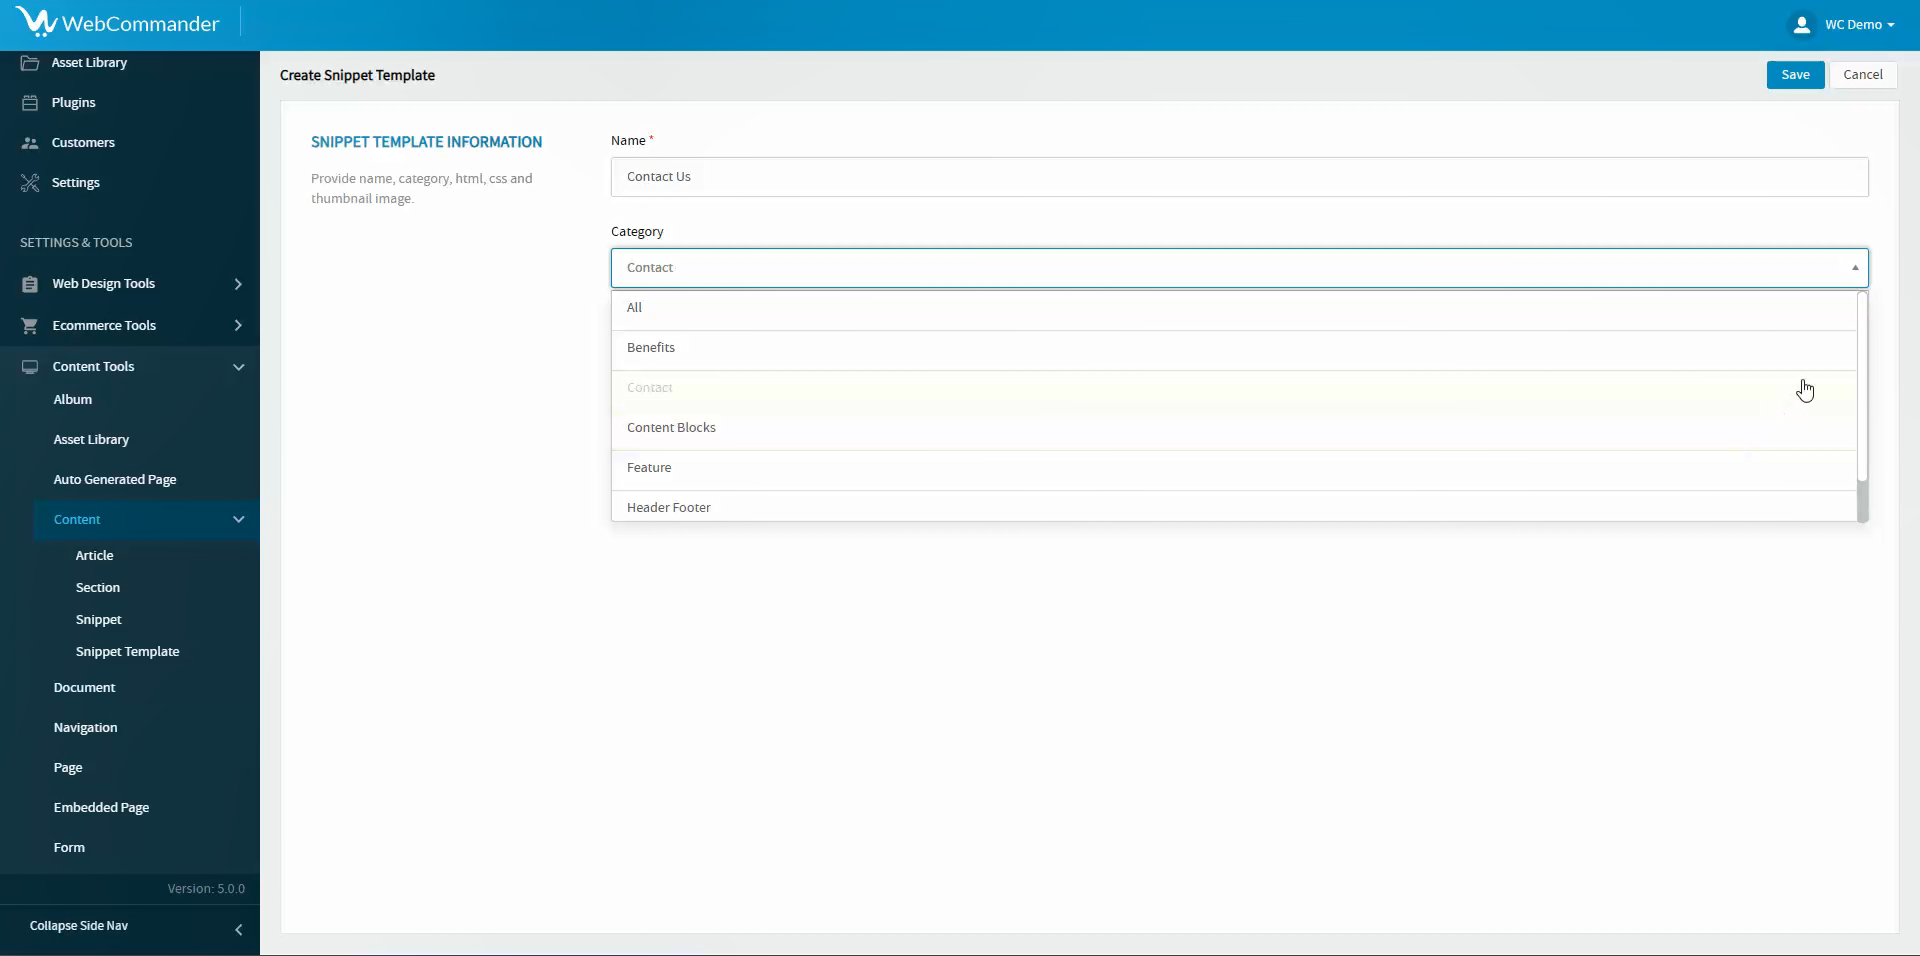
Choose a suitable category from the dropdown menu. Opting for the correct category ensures organisation and swift access. This step is pivotal in streamlining your snippet management process.
Click ‘Save’ to preserve your newly crafted snippet template.
Witness your snippet template listed, ready to be deployed for enhanced functionality.
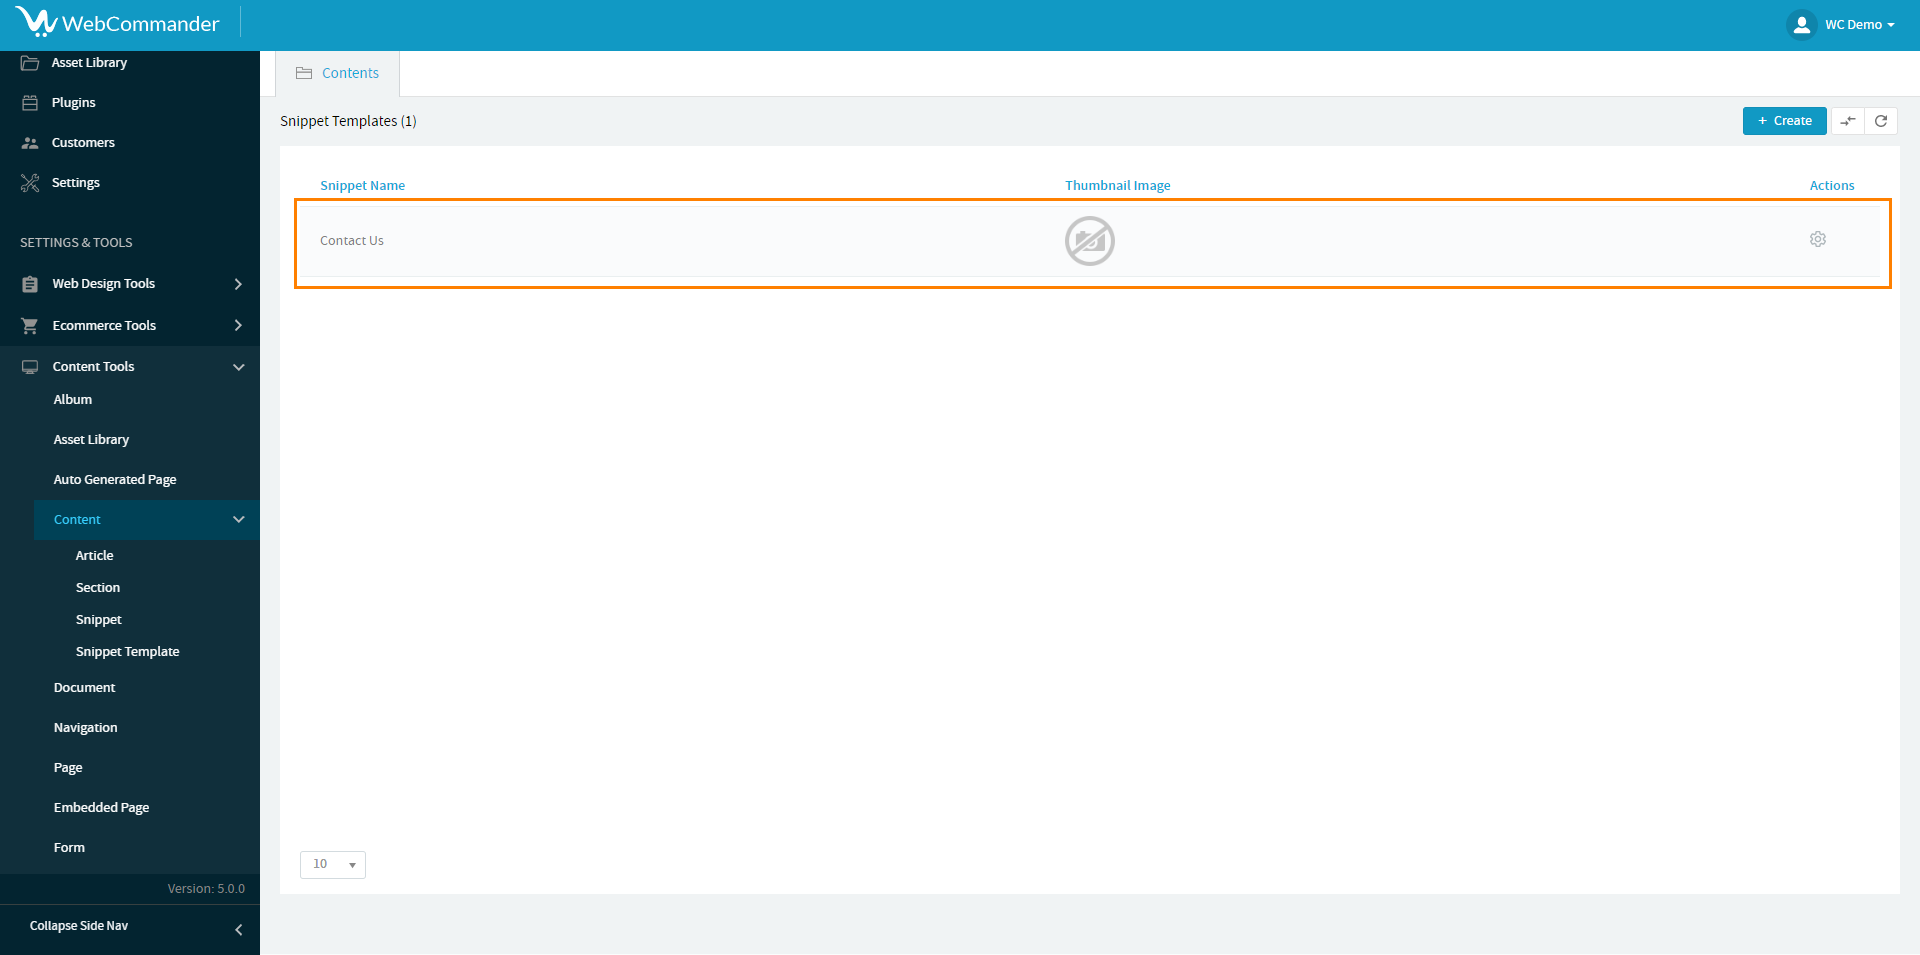
Congratulations! You’ve seamlessly integrated a snippet template into your website.
