
Creating Your Layout
Let’s get started with building your layout in WebCommander. Follow these straightforward steps:
Find the ‘Layout’ section in the ‘Web Design Tools’ menu.
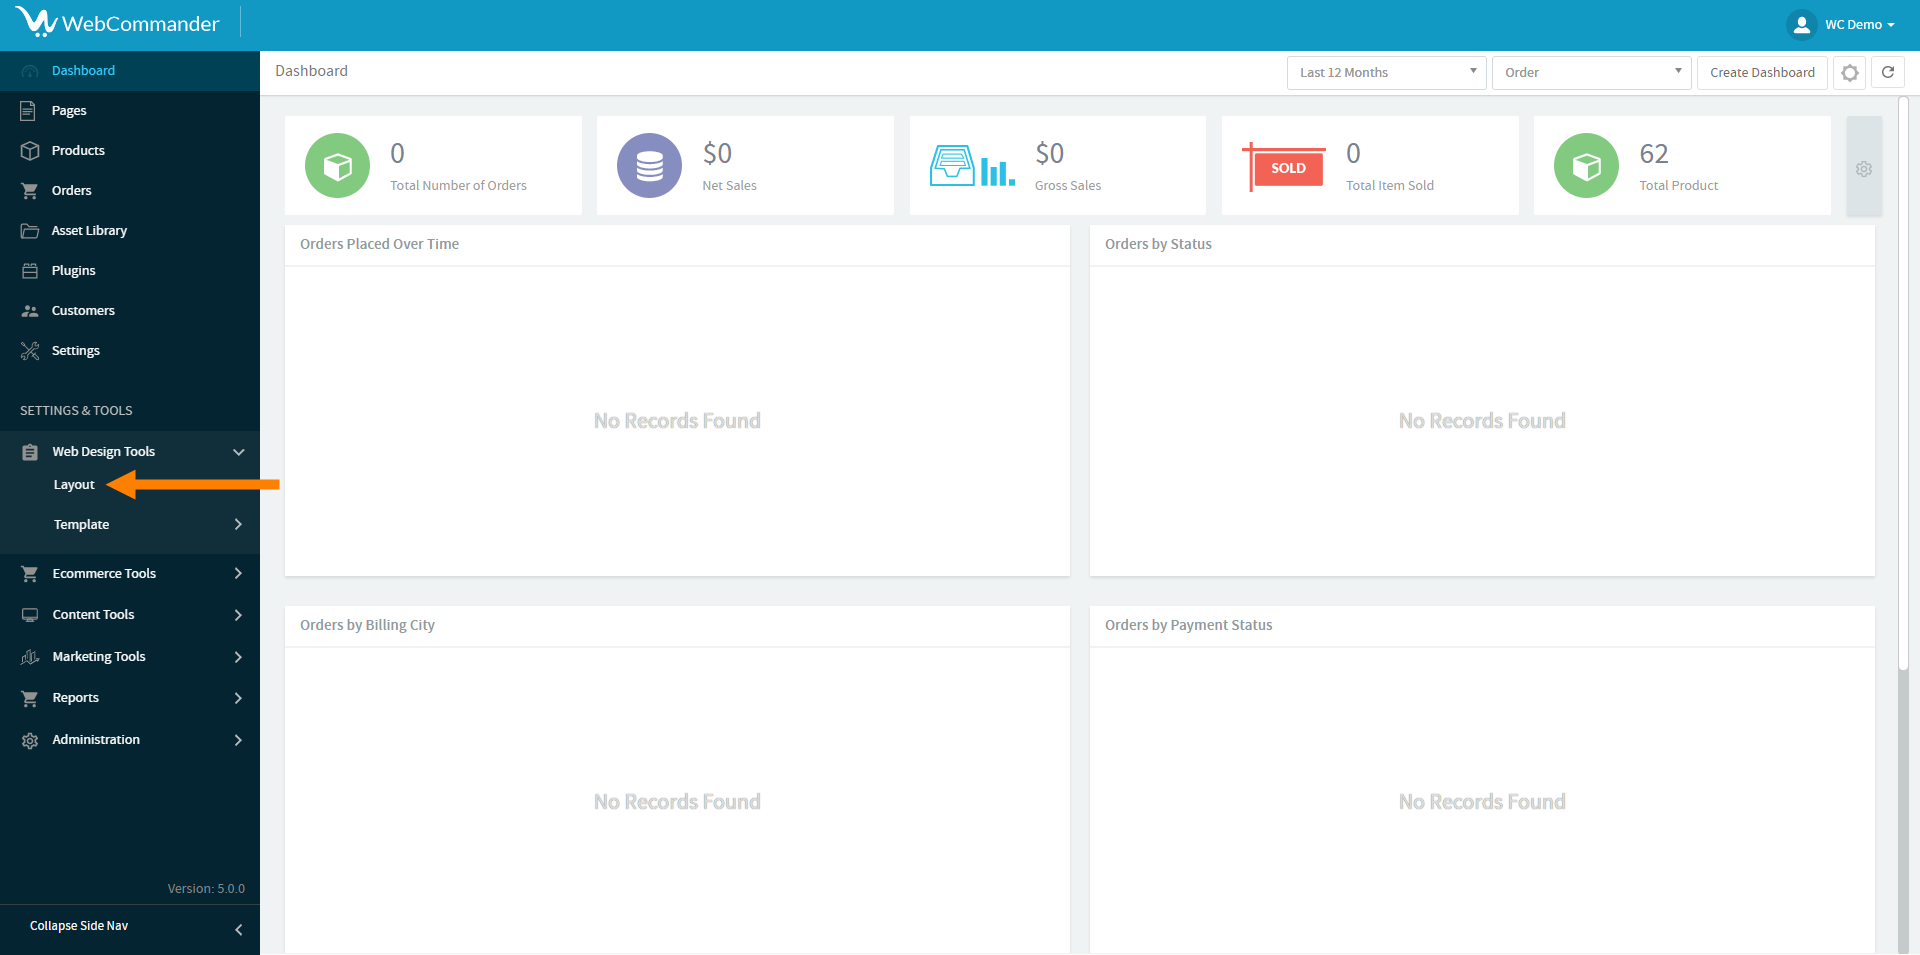
Click the ‘Create’ button at the top right corner of the screen.
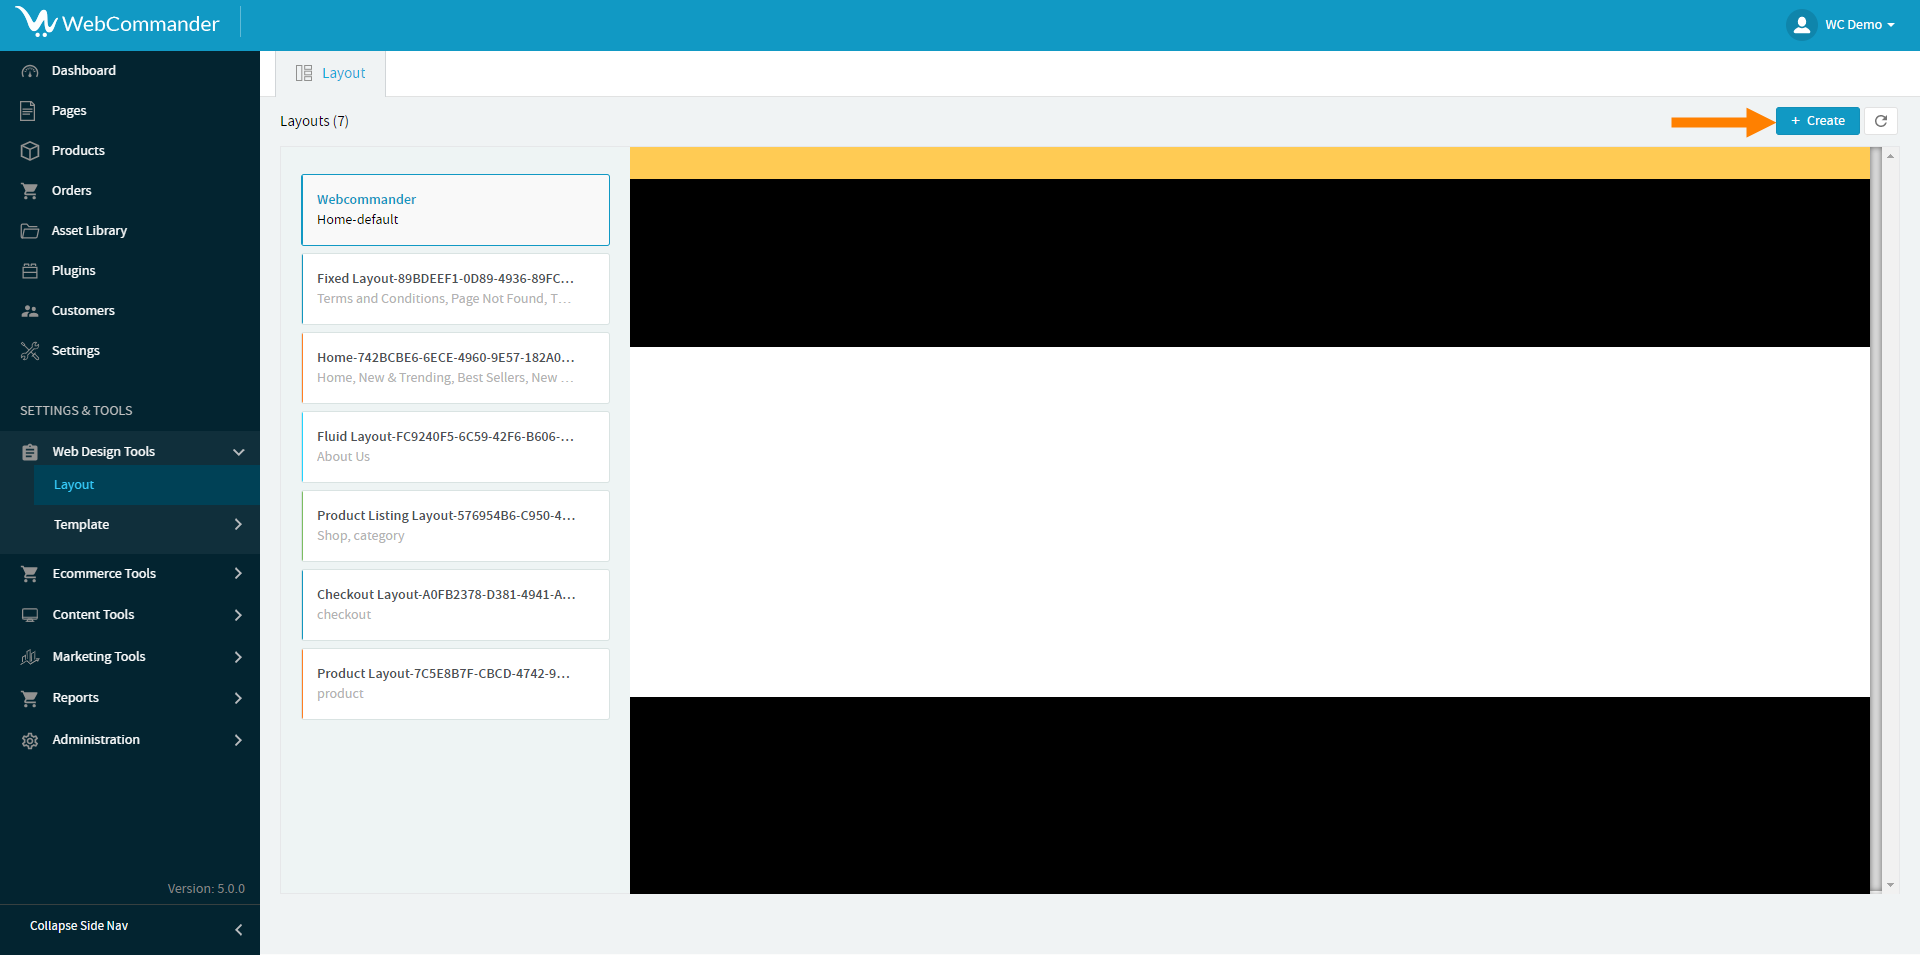
Give your layout a name, like “Home Screen,” and confirm your choice by clicking the checkmark icon.

Editing the Header & Footer Section
To customise the header in WebCommander, follow these simple steps:
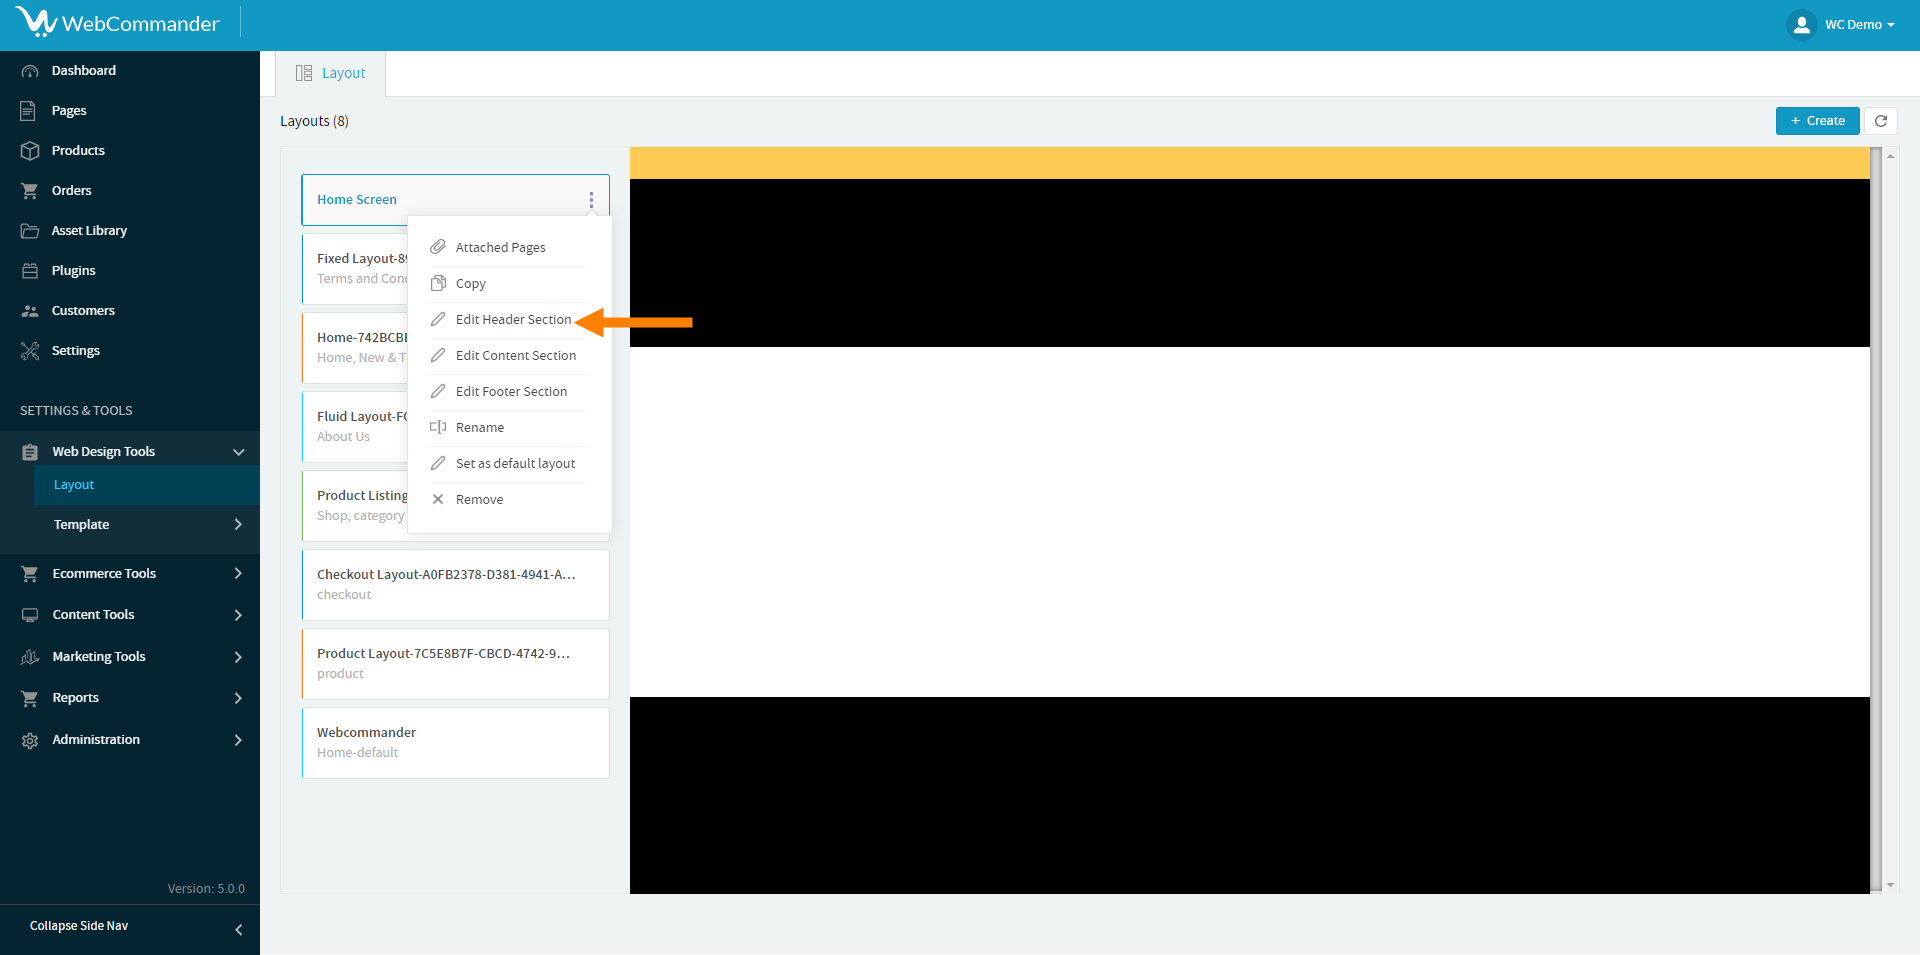
Start by clicking on the ‘Kebab Menu’—that’s the three dots you’ll see. From the menu, select ‘Edit Header Section’ to access the header customisation options.
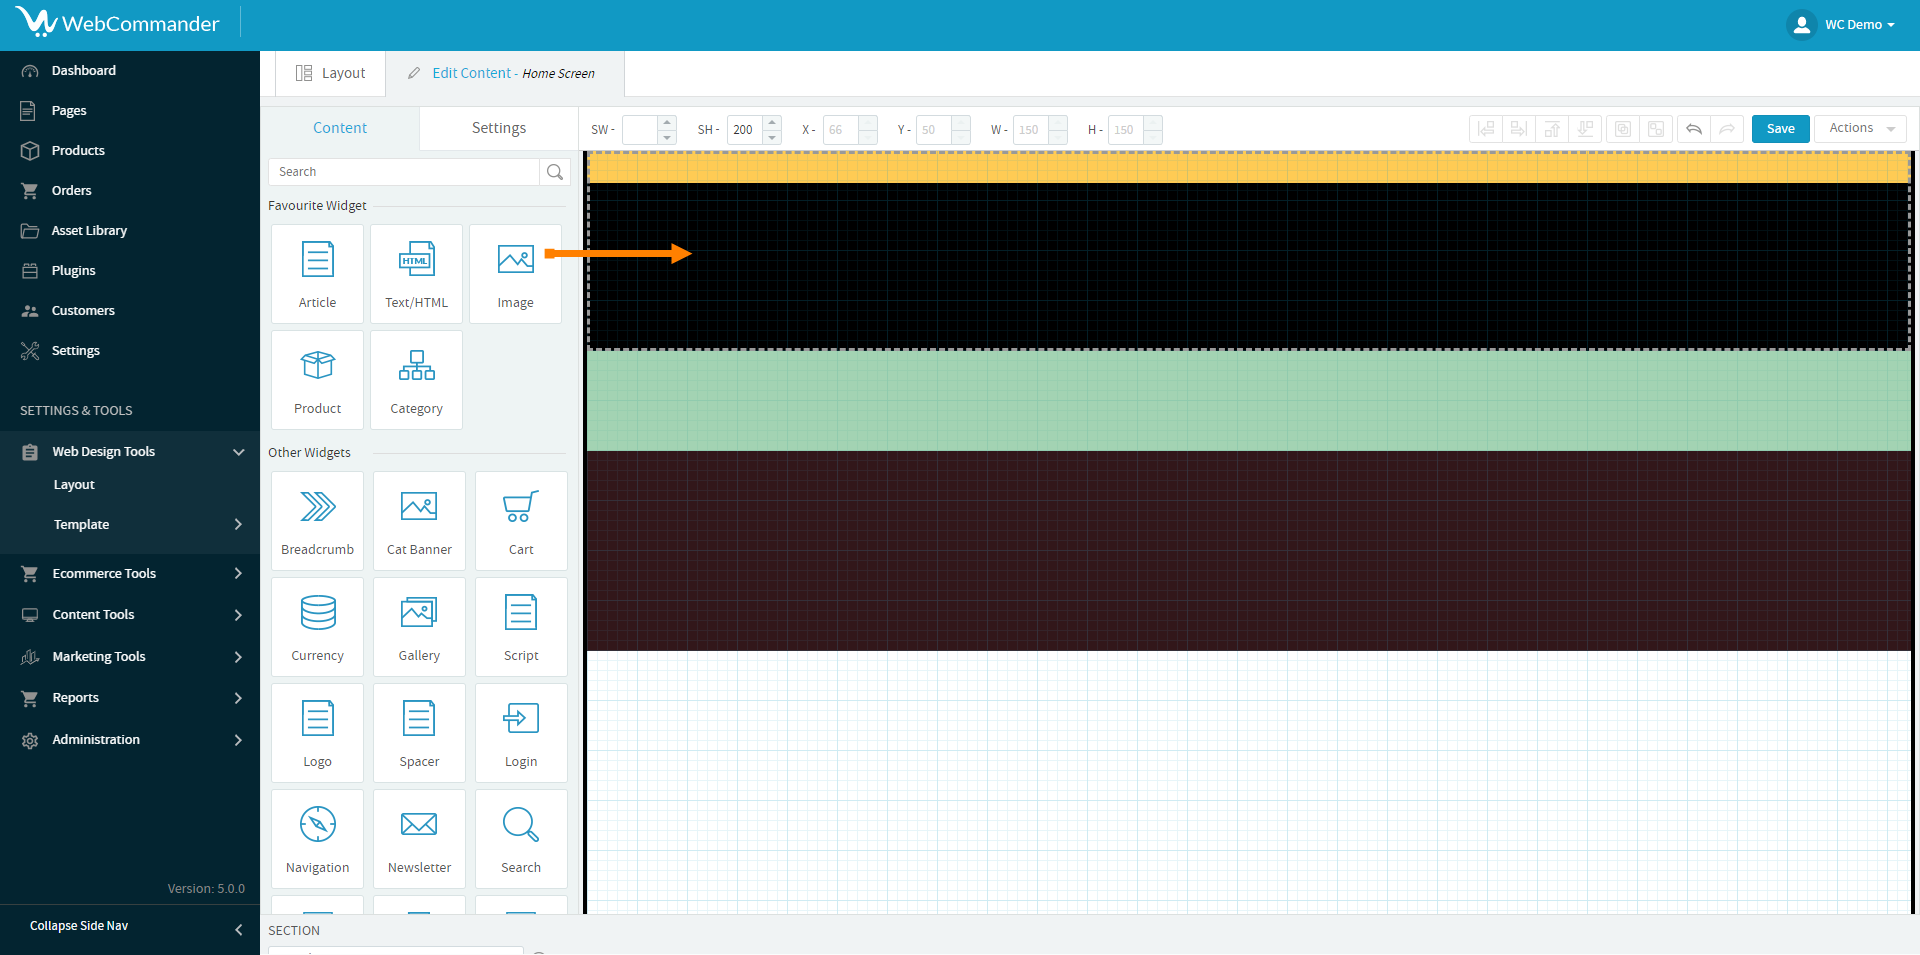
Once you’re in the live preview, you’ll notice a specific area marked for header editing. This is where you’ll make all your changes.

In the Content tab, you can add widgets and design elements to your header. If you’re looking for a specific widget, you can use the search bar to find it. And if you have some favourites, you can save them using the star icon.

To add a widget, simply drag it onto the live preview area.
The Widgets in Section tab gives you an overview of all the widgets you’ve placed in the header. Here, you can customise properties like colours and sizes to make your header look just right.
If you want to copy a header from another layout in WebCommander, follow these steps:
On the right side of the screen, you’ll find an action button. Click on it.
From the options that appear, select “Copy Header”.
Once you click on “Copy Header”, you’ll be taken to the “Get Header from Layout” page.
On this page, you can choose the layout from which you want to copy the header. Look for your desired layout and select it.
After choosing the layout, click on the “Update” button.
At this point, you’ll be asked to confirm your decision. Make sure you’re copying the header from the correct layout, and then confirm your choice.
Once you confirm, you’ll see that the header is successfully copied to your current layout.
Save your design changes by clicking the ‘Save’ button.
To customise the footer in WebCommander, you can follow similar steps as you did for the header:
Start by clicking on the ‘Kebab Menu’ (the three dots) and select ‘Edit Footer Section’ to access the footer customisation options.
You can also change what you want to edit from the ‘Settings’ tab. In the ‘Settings’ tab, you’ll find a ‘Section’ dropdown. From there, you can select whether you want to edit the header, footer, or body of your website.
