
Creating & Editing Docker
To display announcements or offers on your website, you can utilise Docker as an independent container that remains fixed in its designated position. To add Docker, you can follow these steps:
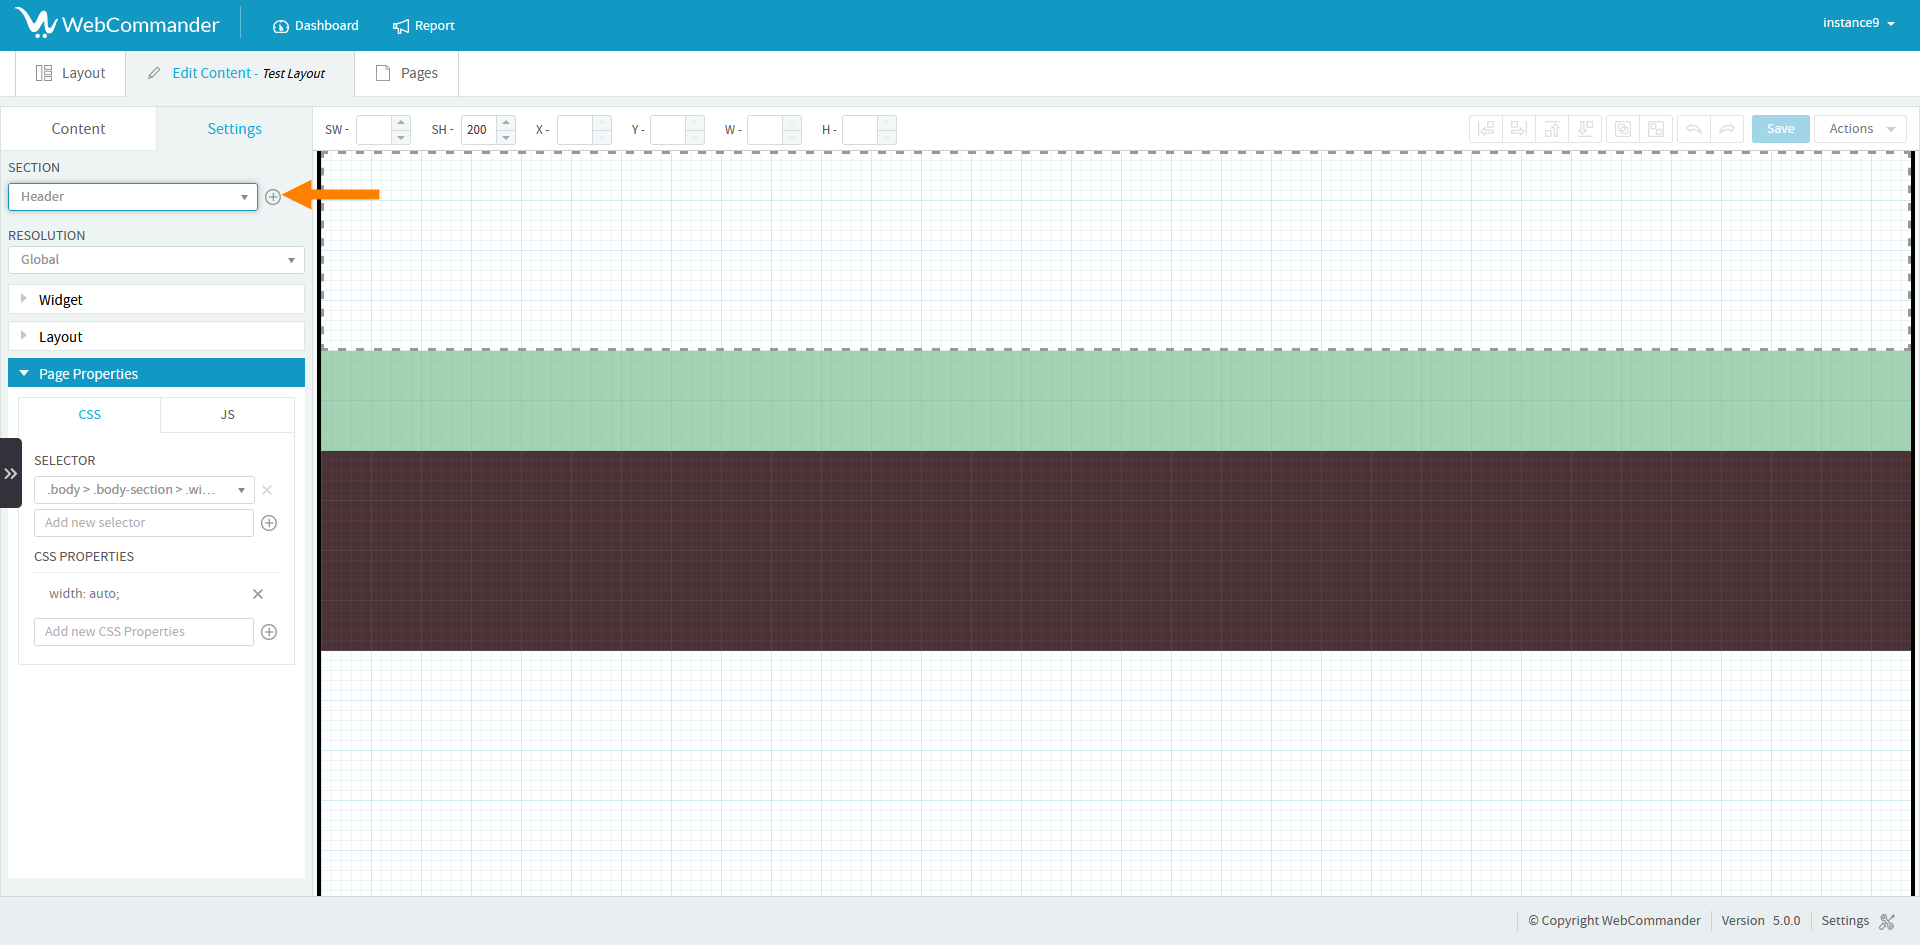
Open the ‘Settings’ tab in your live preview.
In the ‘Settings’ tab, you’ll find a ‘Section’ dropdown. Next to the ‘Section’ dropdown, you’ll see a ‘Plus’ icon. Click on that to add a new Docker section.
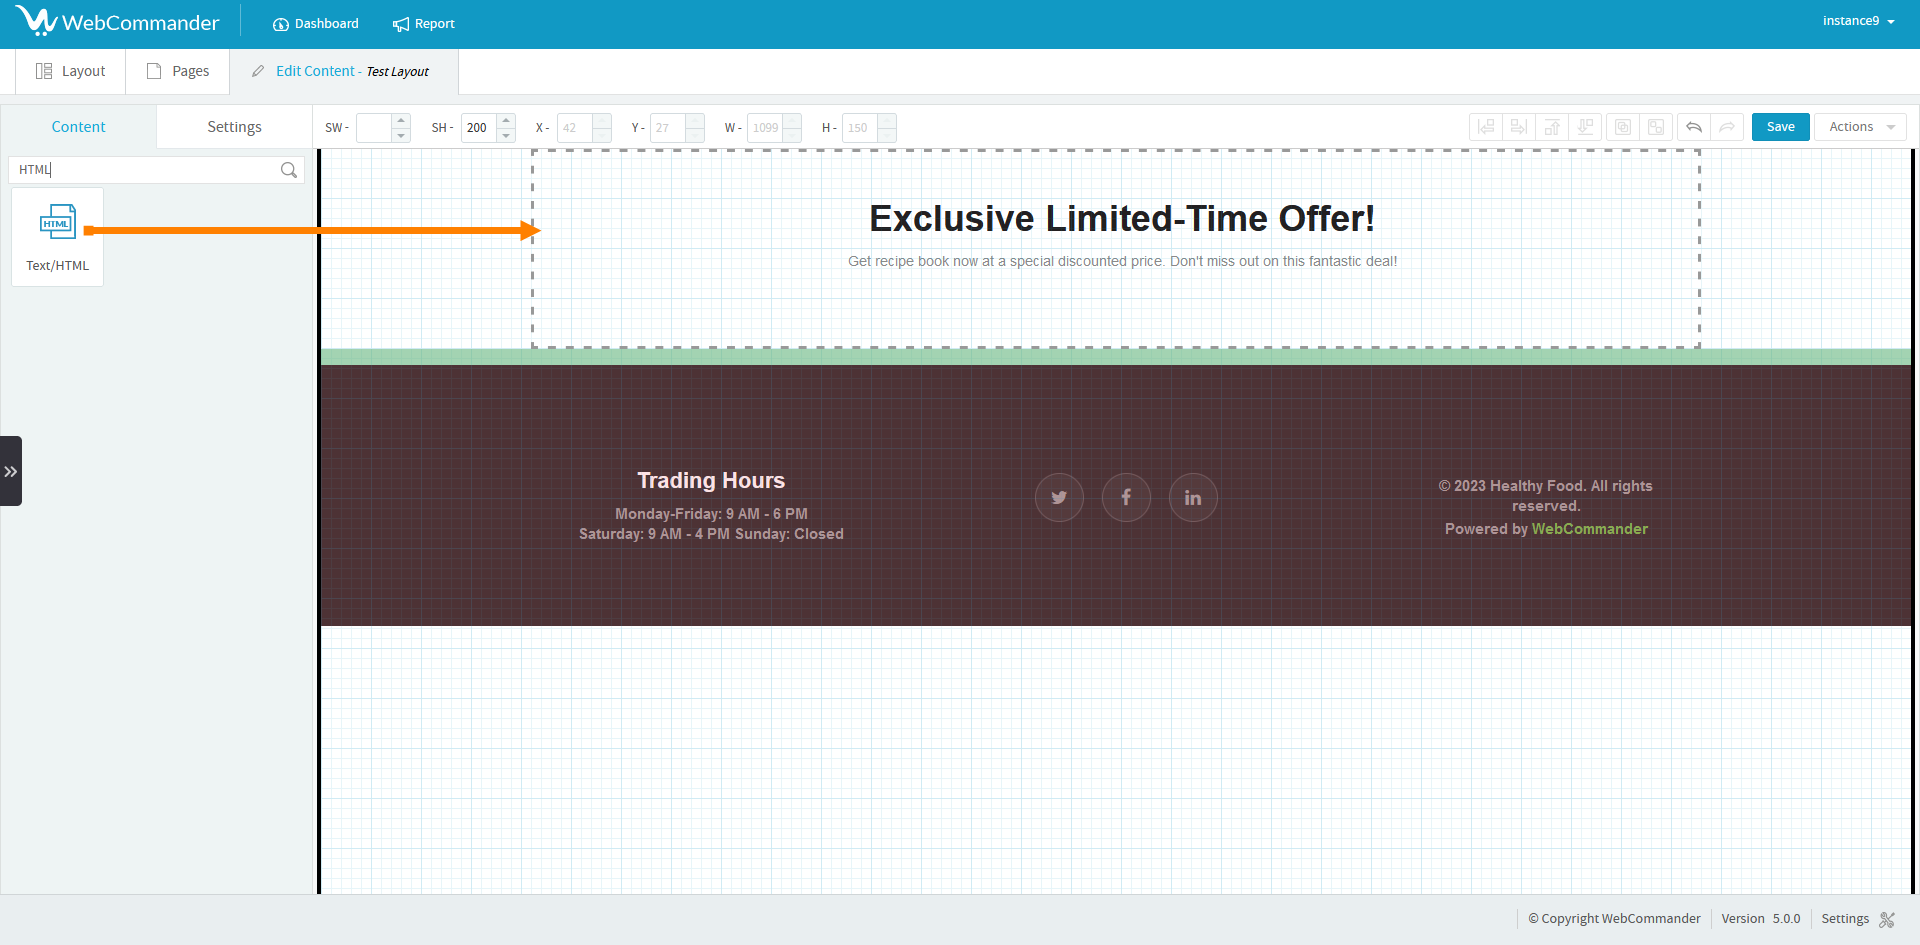
You can drag and drop the desired widget from the content section into the newly created section.
You have the flexibility to customise the design of the docker from the settings tab. Look for the option called ‘Dock CSS’.
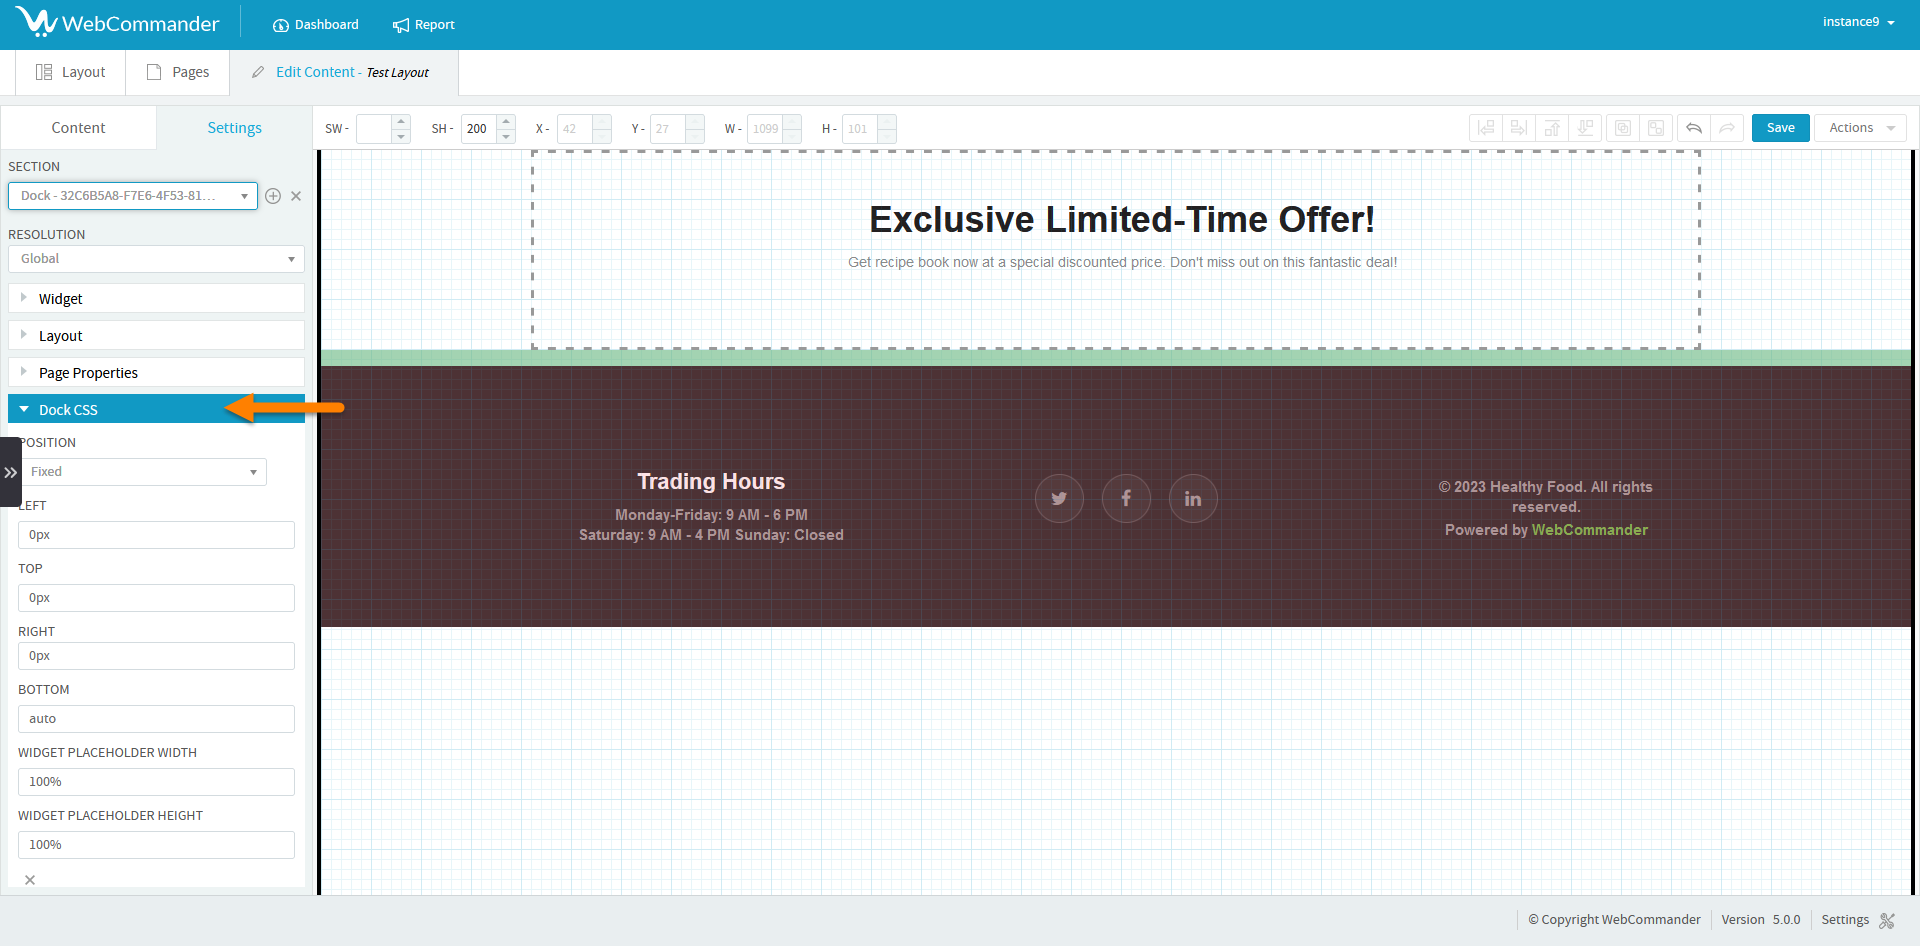
Within the ‘Position’ dropdown, you can choose how the docker behaves. If you select ‘Absolute’, the docker will move along with the page. On the other hand, if you choose ‘Fixed’, the docker will stay frozen on the screen.
Additionally, you can adjust the position of the docker by modifying the ‘Left’, ‘Top’, ‘Right’, and ‘Bottom’ options.
To further customise the design, you can also modify the width and height of the widget placeholder.
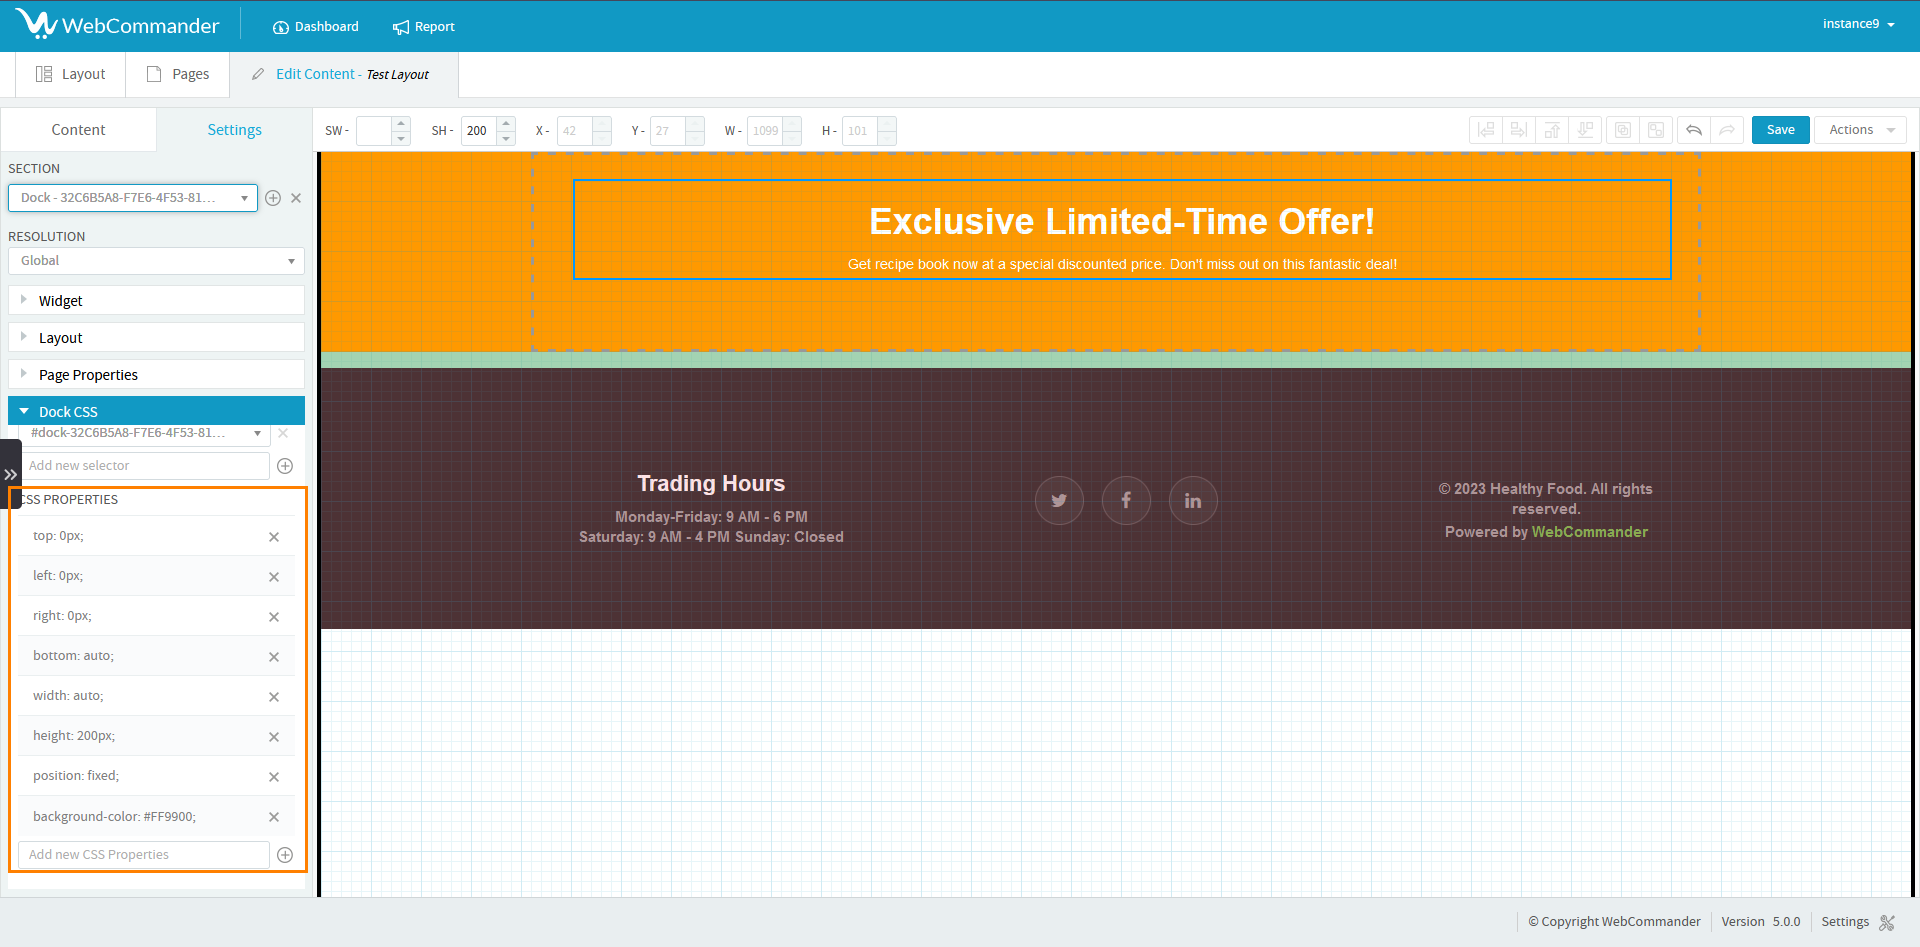
If you want to go even further, you can enhance the design by adding CSS properties.
Sometimes, the Adding docker might hide your header or footer. Depending on its position, you may need to modify the CSS for the header or footer.
To unhide go to the page properties section and create a new selector specifically for the header or footer.
.png)
Once you have created the selector, you just need to add padding as a CSS property.
Once you’re satisfied with your changes, don’t forget to save them!
